Hi, its been a while since my last update so i have alot of new detail to add as i have been busy working on VOGUE for the new summer season.
After trawling through lots of pictures on Google i noticed that quite a few old wooden speed boats had fins attatched to the hull along or just above the plimsole line, with further investigation i discovered that they were to aid in steering under hard turns ie.. they dig in to the water and stop the boat from slipping sideways. They also improve the time in which it takes to get on plane as they stop the stern from sinking as much under acceleration .
I found some old oak in the woodstore that was left over from my Grandmothers wardrobe (Used some of it in the 1970s to make a skateboard deck) and scribed it to the hull before cutting and sanding to make a pleasing shape. Picture to right shows the trial fitting supported with bungee straps

Chrome trim strips were cut and polished and designed to offer extra support to the fins

Fins were fixed to the hull with 7 screw bolts each side and the joint and holes were sealed with sikaflex (brown)
This picture shows the fins drying off after the final of ten coats of hempel varnish laid over a base of Q19.
I reinforced the interior of the hull with extra Mahogany slats and fixed them in place with epoxy resin glue mix and further laminations of carbon fiber . The screwbolts came through this and were topped off with large stainless flat washers to spread the load and nyloc nuts .
The finished fin in all of its glory !
Front view

Side view

Rear view.
 A few pictures of the brightwork on the boat deck .


 Bow cleat


 Nice shot of the open canopy from the rear with straps to hold the canopy open.
 This shot shows the two layers being clamped in position ready for template making of the clear pvc windows.
 Side windows are held in place with velcro and are easily detatched and stowed away .

 This picture shows the bilge pump exit through the transom .

 Cardboard template for Guide on trailer brackets. these will be welded up from Galvanized box section and clamped to trailer frames using U bolts . Then the guide on arms will just slot in and out of them when i need them .
 The painter line is left atached
 The finished painter line with monkey fist knot on the end for added weight when throwing .
 I wanted a fitted cover and could only find loose drawstring covers on the web so set about making my own from some uv stable vinyl that i perchased online.
 Joines were made at midships to keep the cover looking tidy and minimize the number of joints
  All Cleats and fairleads were cut out and pockets of fabric were made for them.

 I couldn't get a clear feeling for how the finished dashboard might look so sat down for the evening and drew out the pattern of the individual gauges onto the cardboard template.
 I am happy with the overall look and have placed orders for the KUS white faced gauges and marine grade stainless steel for the dash panel.
 Chrome trim strips were cut and polished and designed to offer extra support to the fins
 Fins were fixed to the hull with 7 screw bolts each side and the joint and holes were sealed with sikaflex (brown)


 Side view
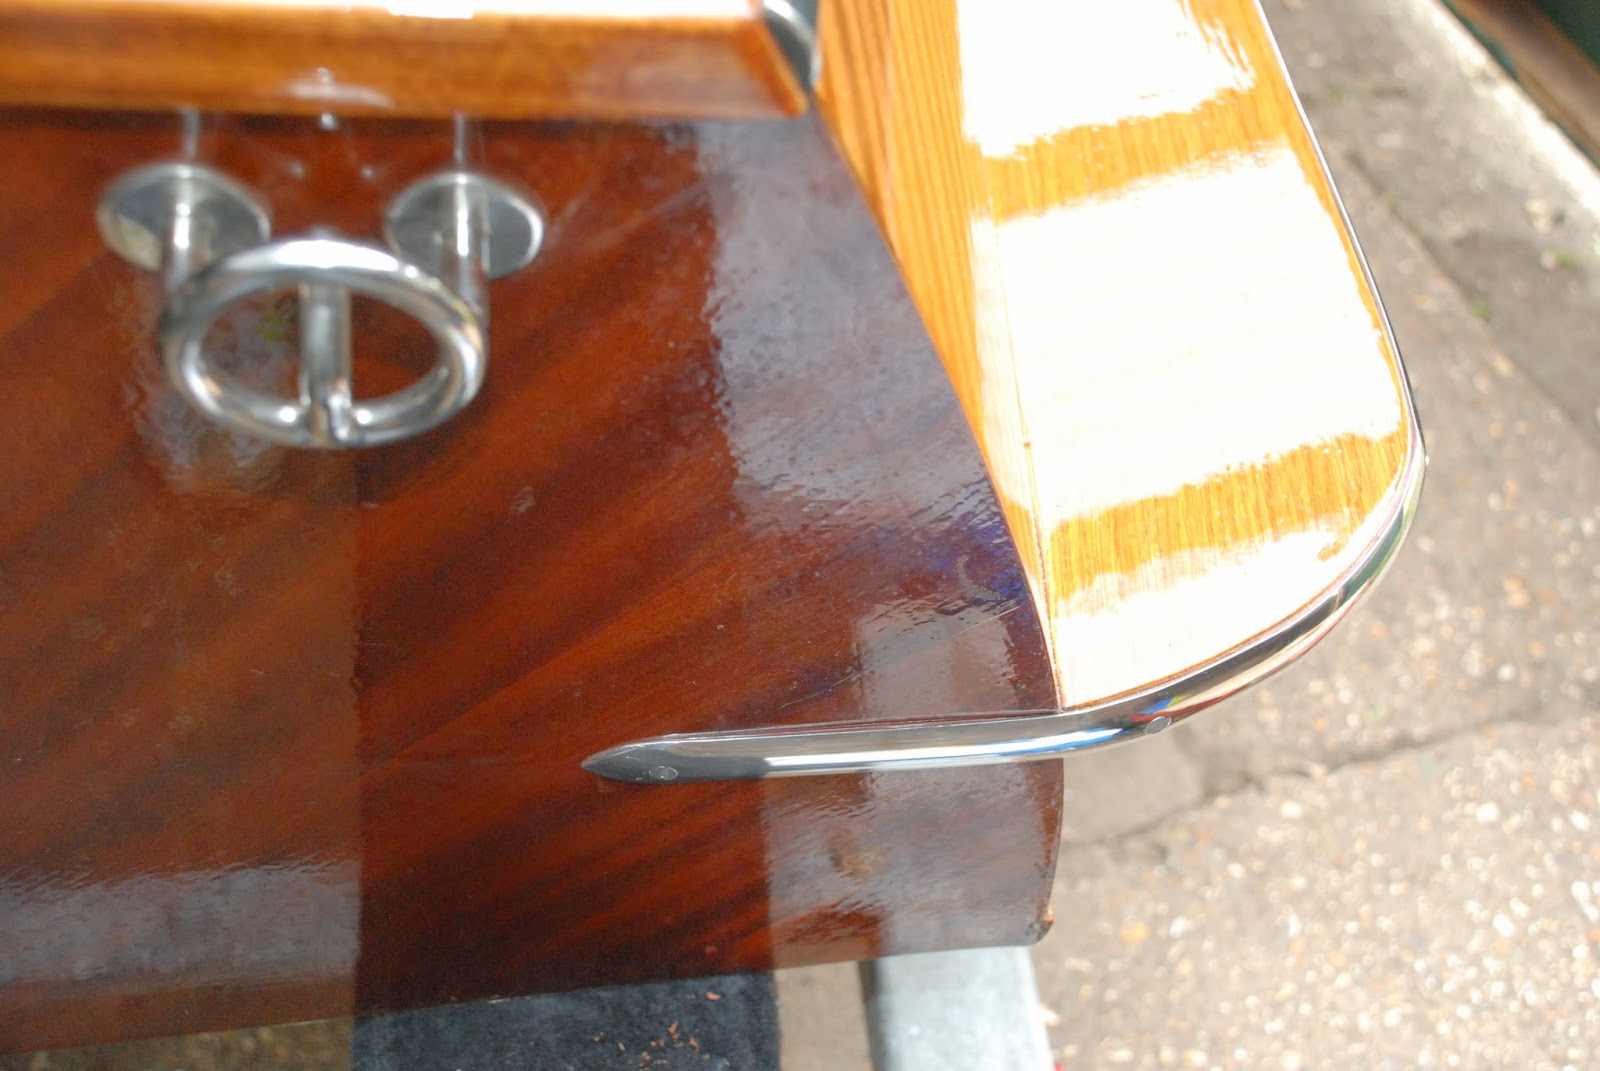 Rear view.